Many of us have a large collection of physical media sitting around, be that CDs, vinyl records, or cassettes. Unfortunately, there isn’t nearly as much to do with them as there used to be—you’d be hard-pressed to find a modern vehicle that runs CDs, much less cassettes.
This is how I got all the benefits of my personal media collection in my vehicle without using up any space on my phone.
Why run a personal music server, and how do they work?
I started collecting CDs and vinyl records after yet another Spotify song disappeared from my playlist without a warning, but I had one problem: I couldn’t easily take them with me in my car, since it has no CD or record player. It is easy enough to digitize them, luckily.
The trouble is taking it all with you even once you convert them. File size and storage are a big problem. High quality media, whether you’ve pulled it from a CD or purchased it from Qobuz, takes up a lot of space.
If you’re an avid collector and digitizer of CDs or FLACs, it is pretty easy to get a media library in the tens or hundreds of gigabytes. My phone just doesn’t have that much extra storage—I’m constantly running out as it stands.
If you set up a music server, that isn’t much of an issue. You can easily attach a 1TB external SSD or even a USB flash drive. If you run out of storage, just attach another.
In many ways, a personal media server works almost exactly like Spotify or Apple music, but instead of playing songs from their library, you play them from your own library.
All you need to do is create a copy of the contents of your CD, load them on to a small computer that will send the music to your phone, and install it in your car.
How I set up a music server in my car
There are two big parts to this setup: the server and the client. The server provides the music and the client plays it back.
Setting up a music server
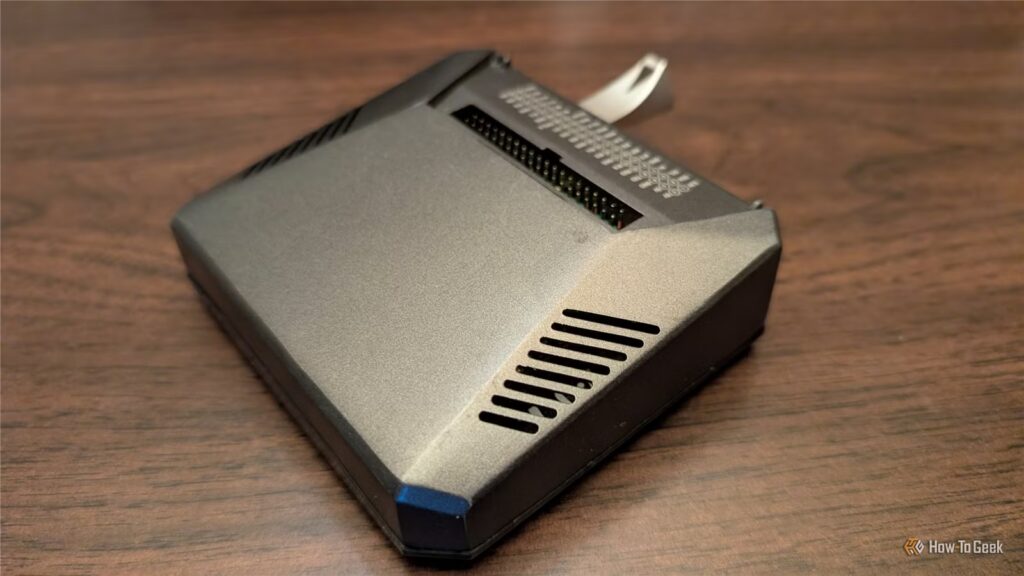
I set up the server using Navidrome on a Raspberry Pi 4. I picked Navidrome because it is very easy to install and use. If you also want to be able to store video, you should consider something like Jellyfin instead.
Actually getting Navidrome working is very easy. First, install some lightweight operating system on your Raspberry Pi. I went with a headless version of Raspberry Pi OS. When prompted to apply OS customization settings, make sure you click “Edit Settings” and enter the details of your Wi-Fi network so you can use SSH to connect to it.
Otherwise, you’ll need to attach a keyboard and monitor to the Pi to work on it.
Once that is done, I installed Navidrome following the instructions for the pre-built binary on the Navidrome website. It amounts to downloading and installing a DEB file—that’s it. Everything else is taken care of automatically.
The default instructions were fine for my use, so I didn’t tweak them.
Finally, the Pi needs to be set up to broadcast as an access point so I can connect to it with my phone. It supports this out of the box with a single command:
sudo nmcli device wifi hotspot ssid (Wi-Fi name here) password (password here) ifname wlan0 It was immediately visible to my phone, which is exactly what I needed.
Once I used that command to make sure it actually worked, I configured the hotspot to launch automatically. Run nmtui on your Raspberry Pi, then navigate to Edit a connection.
Once you’re there, select the hotspot you want to use. In my case, my temporary hotspot is just named ExampleHotspot. Go down and make sure to X the box that says “Automatically connect.” That’ll ensure your hotspot launches whenever you boot up your Pi.
With that, the hard part was done. The only remaining step is to set up the Pi to automatically mount the external SSD when it is connected, and then tell Navidrome to look for music at that location.
The client: Playing music from the server
There are a ton of clients that can communicate with Navidrome, but I chose Symfonium. It works well with Android Auto, which was important for me.
The only configuration Symfonium requires is the IP address of the music server with port 4533, plus a username and password. When you’re using the Raspberry Pi server as the hotspot and the music server, the server IP will be the same as the gateway address. In my case, that was 10.42.0.1.
If you don’t know yours, just run ip a in the terminal and look for an entry related to wlan0 inet.
Once that is done, you’ll have access to your entire library through Symfonium.
The server works remarkably well as it stands, but it has one problem: adding new music could be easier. I have to physically disconnect the storage drive, connect it to my PC, add new music, then reattach it to my Raspberry Pi.
Once the weather warms up again, I’ll permanently wire this setup to my car and add a second wireless adapter that handles automatically syncing music from my home network—no manual movement required.

